
|
|
Comments: This re-marriage is the third and final use of Obverse 3 and the second and final use of Reverse D. |
Obverse 3 The photo below shows the Obverse 3 attribution grid. Obverse 3 exhibits no notable die markers. The date position should be sufficient to confirm the attribution. However, be careful. The date position is similar to that of Obverse 2. 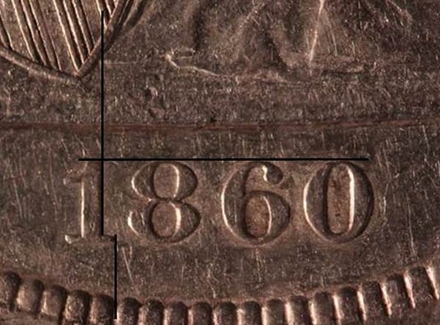 1860 Obverse 3 attribution grid
No later die states have been seen. OC-5a is found only with die state c. The clashed bars that define die state c are shown in the photo below. 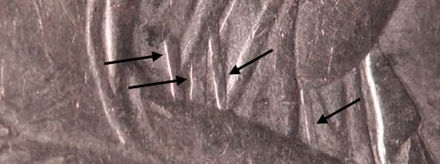 1860 Obverse 3 die state c multiple clash marks |
Reverse D displays two very minor die markers. They should be sufficient for definitive attribution. 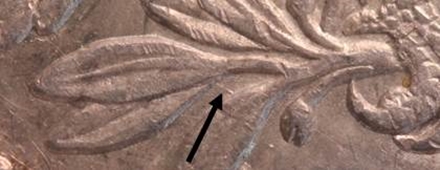 1860 Reverse D die line joins leaves 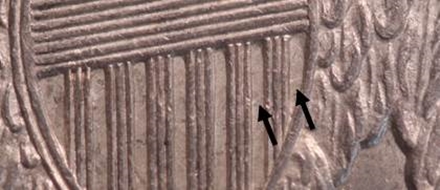 1860 Reverse D die line in shield
This re-marriage is extremely rare. We've seen only a single example in the Heritage archives. That coin, in an NGC AU53 holder, was sold in the March 20, 2014 auction of the Donald Bently Collection. We'd normally hesitate to identify a re-marriage based on a single coin, but in this case the bold clash marks make the die state attribution unquestionable. |
| Photo credits:
Obverse 3: 1860 NGC AU50, from the Osburn-Cushing reference collection. Obverse 3 Clashing and Reverse D: 1860 NGC AU53, from the Osburn-Cushing reference collection. |