
|
|
Comments: This is the first of three uses of Obverse 3 (the third is a re-marriage of this same die pair) and the first of two uses of Reverse D (the second is a re-marriage of this same die pair) |
Obverse 3 The photo below shows the Obverse 3 attribution grid. Obverse 3 exhibits no notable die markers. The date position should be sufficient to confirm the attribution. However, be careful. The date position is similar to that of Obverse 2. 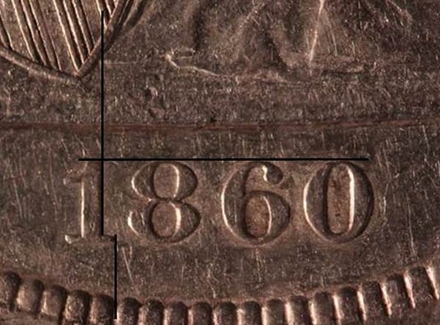 1860 Obverse 3 attribution grid
No later die states have been seen. OC-5 is found only with die states a and b. The clashed bars that define die state c are shown in the photo below. 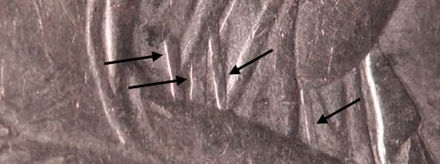 1860 Obverse 3 multiple clash marks |
Reverse D displays two very minor die markers. They should be sufficient for definitive attribution. 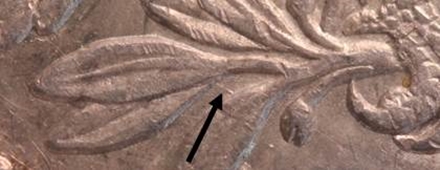 1860 Reverse D die line joins leaves 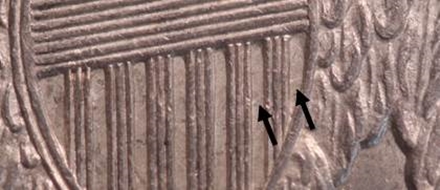 1860 Reverse D die line in shield
|
| Photo credits:
Obverse 3: 1860 NGC AU50, from the Osburn-Cushing reference collection. Obverse 3 Clashing and Reverse D: 1860 NGC AU53, from the Osburn-Cushing reference collection. |