
|
|
Comments: This is the first of three uses of Obverse 2 and the only use of Reverse B. |
Obverse 2 The photo below shows the Obverse 2 attribution grid. 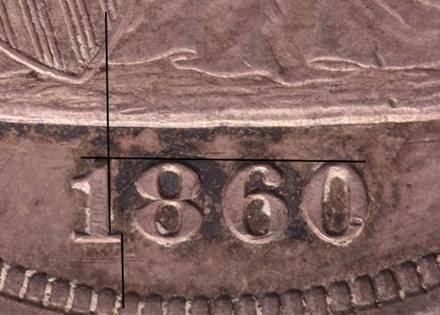 1860 Obverse 2 attribution grid The only barely notable Obverse 2 die markers are some faint die lines in the denticles opposite stars 5-7, shown in the photo below. 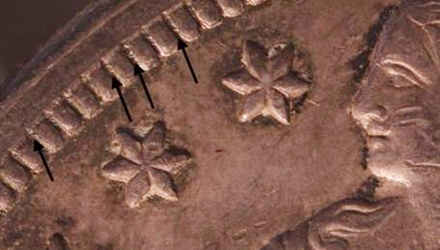 1860 Obverse 2 die lines in denticles
|
Reverse B exhibits a snaky die line in the denticles above A3, shown in the photo. 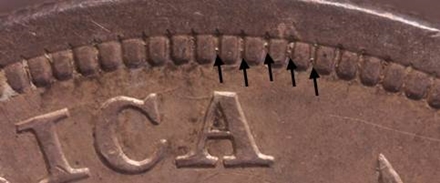 Reverse B die line in denticles
 Reverse B Die Lines Joining ES We have examples of OC-2 with all three reverse die states. Examples of OC-2 are often seen with dies rotated by as much as 10 degrees. |
| Photo credits:
Obverse 2 and Reverse B: 1860 NGC MS62, from the Osburn-Cushing reference collection. |