
|
|
Comments: This is the second and final use of Obverse 3 and the first of two uses of Reverse E. |
Obverse 3 The photo below shows the Obverse 3 attribution grid. 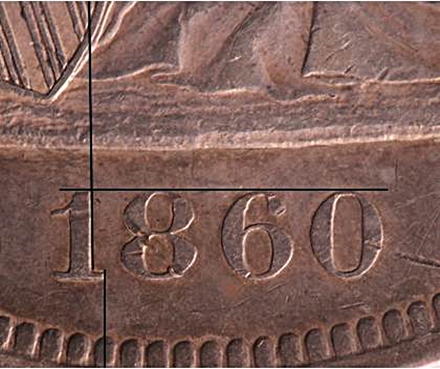 1860-O Obverse 3 attribution grid Although Obervse 3 displays no notable markers the date position is sufficient for attribution. The date is farther right than any other for the year, and is the only date for the year with a 0 that's slightly low in the field.
|
Reverse E displays no notable die markers except for its mintmark position, shown in the following photo. The mintmark is slightly lower and a little more to the right than Reverse D. 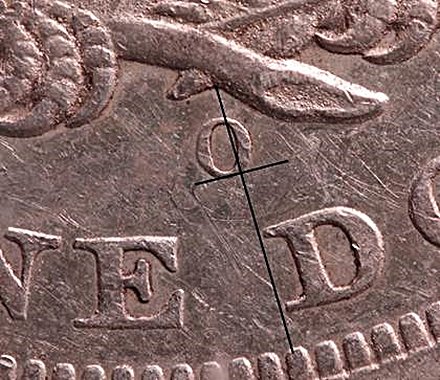 1860-O Reverse E mintmark
The die crack which defines state b is shown in the following photo. 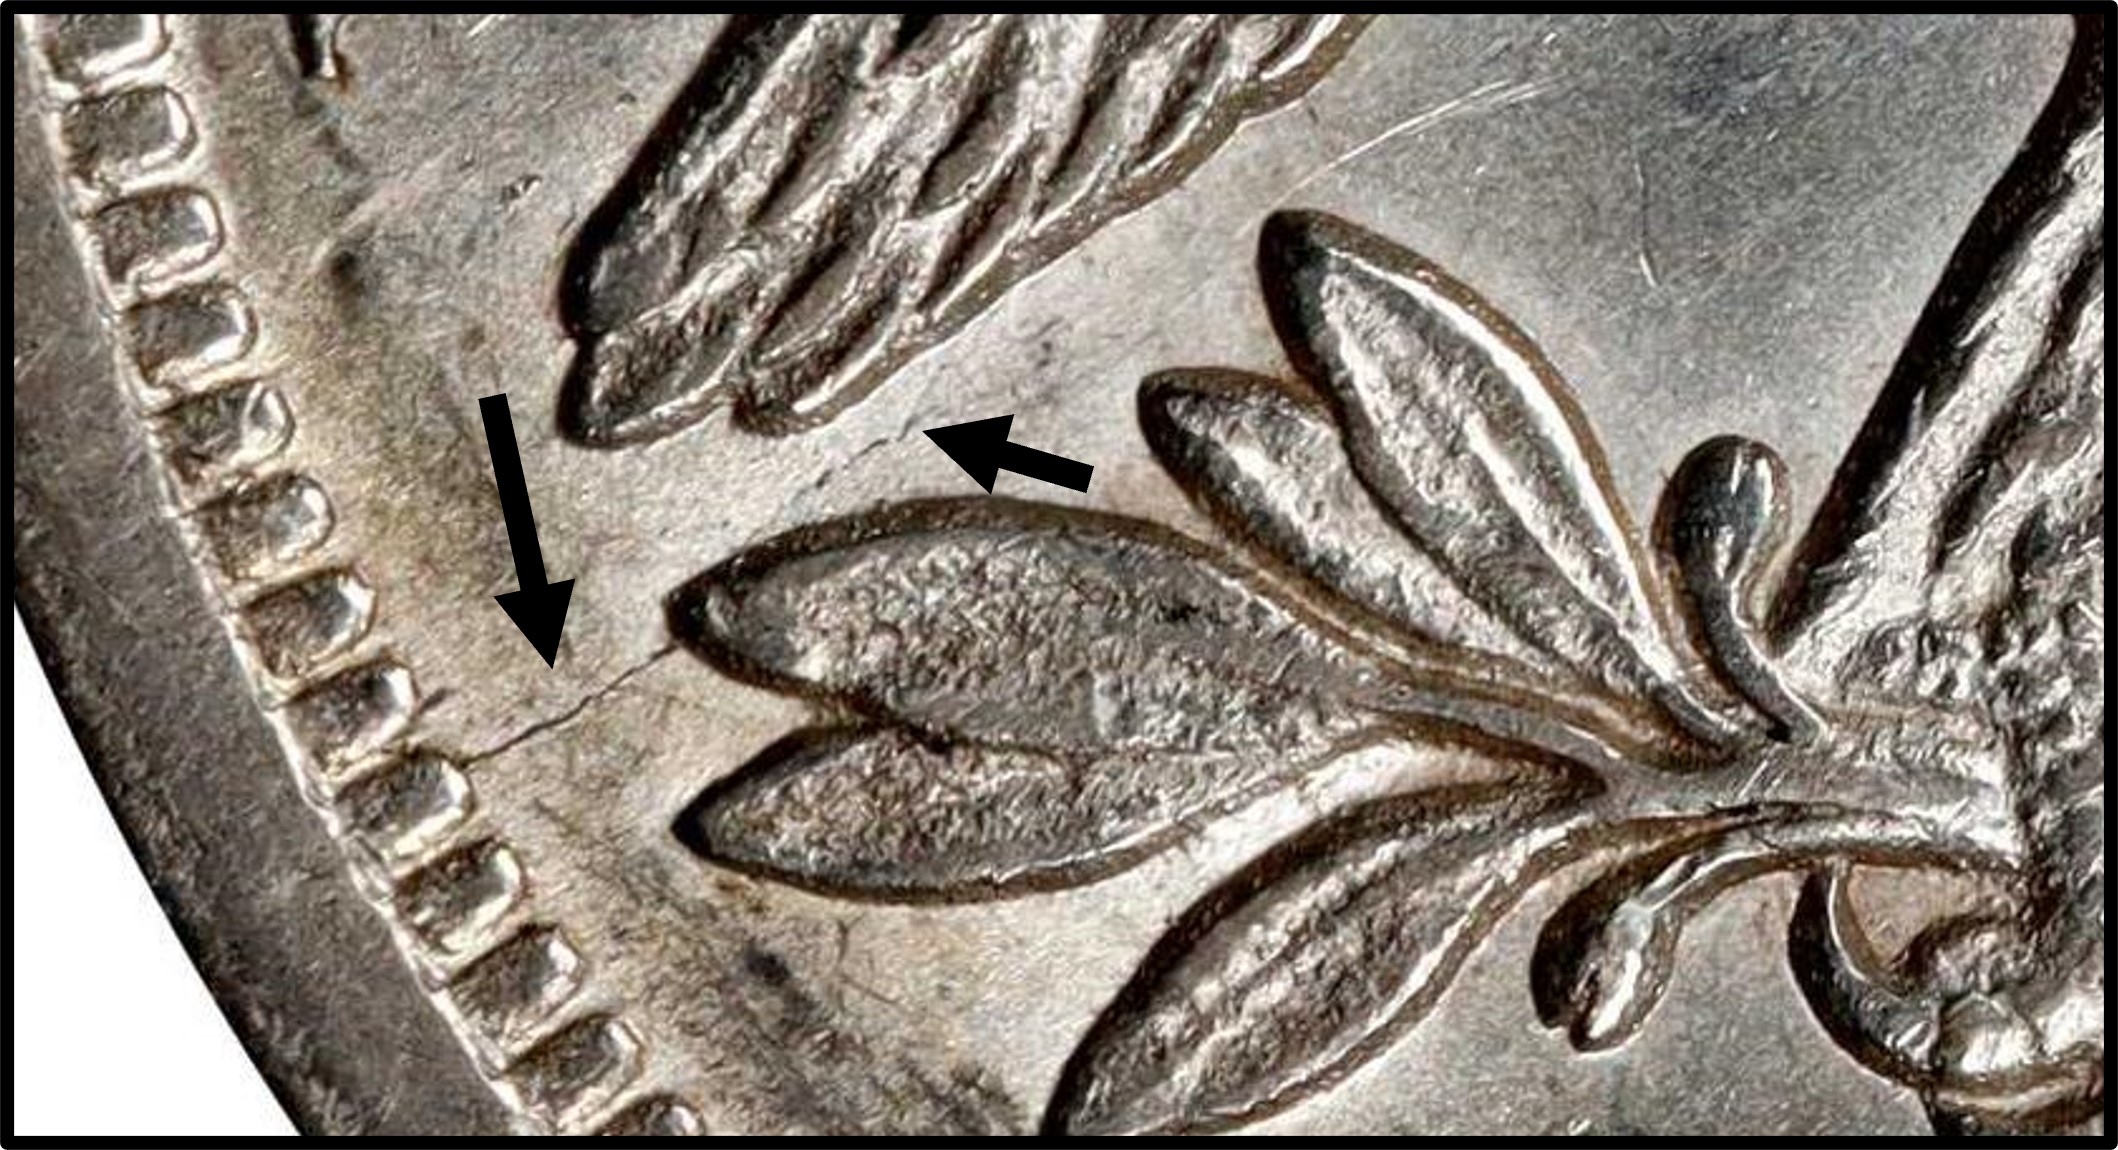 1860-O Reverse E - State b die crack No later die states have been observed. OC-7 has been found with both reverse die states. The die crack that defines state b may not be visible on coins grading less than XF. Early die state examples without the reverse die crack are rare. I've seen only a few examples. |
| Photo credits:
Obverse 3: 1860-O PCGS AU50, from the Osburn-Cushing reference collection. Reverse E: 1860-O PCGS AU53, from the Osburn-Cushing reference collection. |