
|
|
Comments: This is the only use of Obverse 2 and the only use of Reverse C. |
Obverse 2 The photo below shows the Obverse 2 attribution grid. 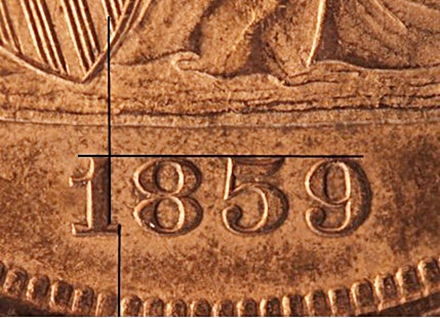 1859 Obverse 2 attribution grid Obverse 2 exhibits no notable die markers, but the date position should be sufficient to confirm the attribution.
|
Reverse C displays very few die markers. As with the other 1859 reverses one minor marker allows definitive attribution. The photo shows the extension of horizontal shield line #1. It’s lightly doubled outside the left-side shield border, the only 1859 reverse die with this doubling notable. 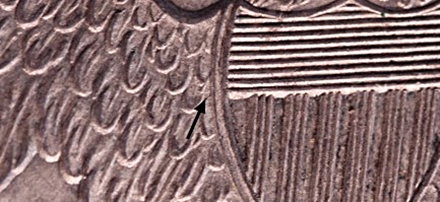 1859 Reverse C shield line extension
|
| Photo credits:
Obverse 2 and Reverse C: 1859 NGC AU58, from the Osburn-Cushing reference collection. |